How to Install a Motorcycle Wiring Harness Step by Step

You want your bike to run safely and smoothly, right? This guide shows you exactly how to install a motorcycle wiring harness. A wiring harness is a bundle of wires that connects your bike’s electrical parts. Many riders replace their harness because of problems like corroded wires, dead batteries, or lights that won’t work. Sometimes, old wires wear out and even cause fire risks. Don’t worry—if you follow each step and use the right tools, you can handle this job with confidence.
Key Takeaways
Gather all essential tools and quality materials before starting to make the job easier and safer.
Always disconnect the battery and label wires carefully to avoid mistakes and protect yourself.
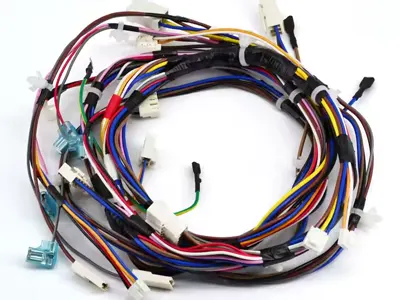
Remove the old wiring harness slowly, using photos and labels to keep track of connections.
Route and secure the new harness neatly, keeping wires away from heat and moving parts for durability.
Test every connection with a multimeter and inspect grounds to ensure your bike runs smoothly and safely.
Tools and Materials

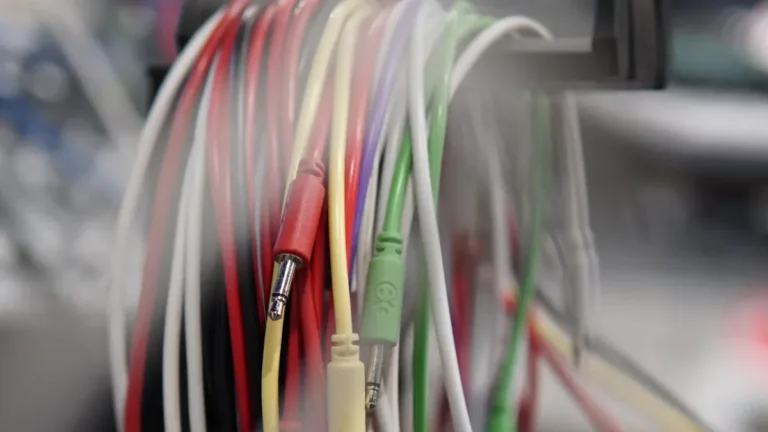
Before you start working on your motorcycle wiring harness, you need the right tools and materials. Having everything ready makes the job smoother and helps you avoid mistakes.
Essential Tools
You do not need a fancy toolbox, but you do need some basics. Here is what you should have on hand:
Wire cutters and strippers
Crimping tool
Screwdrivers (Phillips and flathead)
Soldering iron and solder (for strong connections)
Multimeter (for checking voltage and continuity)
Heat gun or lighter (for heat-shrink tubing)
Pliers
Tip: Keep your tools organized in a tray or box. This way, you will not lose anything while working.
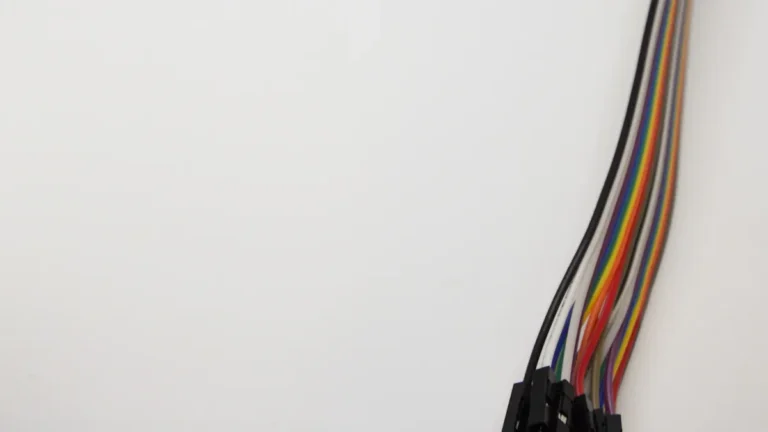
Best Wire and Connectors
Choosing the right wire and connectors is important for safety and reliability. Here are some expert tips:
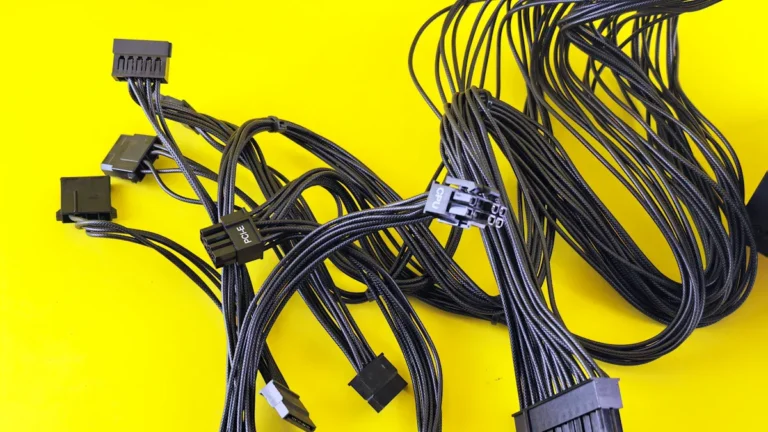
OEM wiring harnesses work best for restorations or direct replacements. They fit perfectly and use materials that resist heat and oil.
OEM harnesses go through factory testing, so you get fewer problems and often a warranty.
Aftermarket or custom harnesses can be great if you pick a trusted brand. Look for harnesses made with premium automotive-grade copper wire and connectors.
Some high-end harnesses use flameproof jackets and MIL-spec connectors. These handle vibration and tough conditions, which is perfect for racing or performance bikes.
Brands like Romtronic use certified materials and offer technical support.
You can see the main options in this table:
Harness Type | Best For | Features |
|---|---|---|
OEM | Restorations | Perfect fit, tested, warranty |
Aftermarket | Custom projects | Premium wire, flexible, durable |
Other Supplies
You will also need a few extra items to finish the job right:
Electrical tape
Heat-shrink tubing
Zip ties or cable clamps
Contact cleaner (for old connectors)
Wiring diagram for your bike model
Notebook or labels (for marking wires)
With these tools and supplies, you are ready to tackle your motorcycle wiring harness project. Take your time and double-check each step for the best results.
Preparation
Safety First
Before you touch any wires, you need to think about safety. Working with a motorcycle wiring harness means you deal with sharp edges, electricity, and small parts. Here are some smart steps to keep you safe:
Wear gloves and safety glasses. These protect your hands and eyes from cuts and sparks.
Use only high-quality wires and connectors. Cheap parts can cause electrical problems or even fires.
Check each wire for damage before you start. If you see cracks or worn spots, replace the wire.
Keep wires away from hot parts like the engine or exhaust. Heat can melt insulation and cause shorts.
Bundle wires neatly, but do not pull them too tight. This helps prevent overheating.
Tip: Always work in a well-lit area. Good lighting helps you spot problems before they get serious.
Battery Disconnect
You do not want any power running through the bike while you work. Disconnect the battery before you do anything else. This simple step keeps you safe from shocks and protects your bike’s electronics.
Remove the negative cable first. This stops the flow of electricity.
Set the battery aside in a safe place.
Never let your tools touch both battery terminals at once.
Label and Document
You will see a lot of wires when you remove the old harness. It is easy to forget where each one goes. Take a few minutes to label every wire or take clear photos with your phone. This makes it much easier to connect everything correctly later.
Use masking tape and a marker to label each wire.
Take photos from different angles.
Keep a notebook handy for extra notes.
Note: Always use the wiring diagram or manual for your specific motorcycle model. This helps you match each wire to the right spot.
If your bike has a fuel tank in the way, remove it now. Make sure the air filter is in place so nothing falls inside the engine. These steps give you more room to work and help you avoid mistakes.
Remove Old Harness
Step-by-Step Removal
Start by looking at your motorcycle wiring harness. You want to remove it slowly and carefully. If you rush, you might forget where each wire goes. Here’s a simple way to do it:
Begin at one end of the harness, like the headlight or taillight.
Unplug each connector one at a time.
As you remove a wire, connect the new harness wire in its place. This keeps the routing the same and helps you remember where everything goes.
Do not cut or trim wires on the new harness yet. Leave them full length until you finish the job. This gives you more room to work and helps avoid mistakes.
Tip: Take your time. If you get stuck, check your labels or photos. They will help you match up the wires.
If you see any wires that look damaged or burned, replace them right away. Clean the connectors with contact cleaner before plugging in the new ones. This helps prevent future problems.
Piece-by-Piece Replacement
You might want to replace your harness one section at a time. This method takes longer, but it has some big benefits:
You learn how your whole wiring system works.
You can remove parts you do not need, like extra lights or old switches.
Your electrical system becomes simpler and easier to fix.
You only keep the wires and parts you want, making your bike unique.
You follow a wiring diagram that matches your setup.
You make fewer mistakes because you see each change as you go.
You get a custom harness that fits your needs and is easy to troubleshoot later.
Note: Piece-by-piece replacement helps you understand your motorcycle wiring harness better. It also makes future repairs much easier.
No matter which method you choose, always double-check your work. Careful removal and replacement will save you time and trouble later.
Install Motorcycle Wiring Harness

Routing the Harness
You want your new motorcycle wiring harness to last and work perfectly. Start by laying out the harness along your bike’s frame. Use your wiring diagram as a guide. Make sure you use tinned, finely stranded marine grade wire. This type of wire bends easily and stands up to vibration and weather.
Here’s a simple way to route your harness for the best results:
Attach terminals at the start of each wire. This helps you set the final length.
Choose between soldering or crimping the terminals. Always slide heat shrink tubing over the connection before you finish. Heat shrink keeps water and dirt out.
Support wires at stress points, like near terminals. Use extra heat shrink and zip ties to stop wires from shaking loose.
Keep wires for the ignition system away from other wires. This stops electrical noise and keeps your bike running smooth.
Wrap the harness with insulation tape or use split plastic tubing. This protects wires from rubbing and breaking.
Route wires away from hot parts like the engine or exhaust. Make sure wires do not get pinched by moving parts, like the forks.
Use high-quality zip ties to hold wires in place. Stainless steel barb zip ties work best and do not cut into the insulation.
Double-check that wires have enough slack for the bike’s movement, but not so much that they get caught or damaged.
Tip: Always follow your wiring diagram and check each wire’s path before securing it. This step saves you from headaches later.
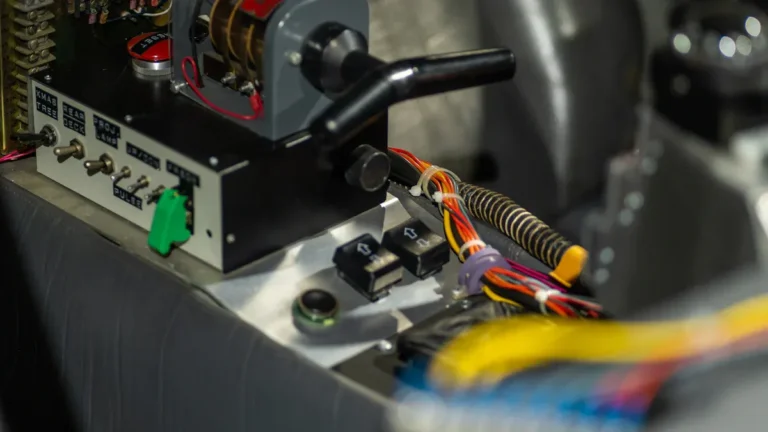
Connecting the Battery
Now you can connect the battery to your motorcycle wiring harness. Start with the negative (-) terminal. Attach it to a clean, bare metal spot on the frame. This creates a solid ground. Next, connect the positive (+) terminal to an inline fuse holder with a 20-30 amp fuse. This fuse protects your bike from electrical fires.
Run a thick wire from the fuse holder to the ignition switch. This wire should handle at least 30 amps. From the ignition switch, run a “backbone” power wire to the back of the bike. You will connect all your accessories to this backbone.
Note: Never connect both battery terminals at the same time while working. Always connect the negative terminal last when you finish.
Connect Components
With the backbone wire in place, you can start hooking up your bike’s parts. Here’s a quick checklist:
Connect the hot wire of the headlight and taillight to the backbone. Ground the other wires to the frame.
Attach brake light switch wires to the backbone and the taillight’s brake wire.
Connect coil input wires to the backbone. The other coil wires go to the ignition system.
For electric start, connect the starter solenoid lugs to the battery and starter. Wire the solenoid control wires to the backbone and starter switch.
Hook up the regulator/rectifier wires to the stator, battery positive, and battery negative as shown in your manual.
If you have a modern bike, you may need to connect wires to the ECU or throttle body. For vintage bikes, stick to the original routing.
Callout: Use at least 16-gauge thin stranded copper wire for all main connections. Avoid cheap crimp connectors. Always protect connections with heat shrink tubing or electrical tape.
Grounding Points
Good grounding keeps your motorcycle wiring harness working right. Bad grounds cause all sorts of problems—flickering lights, weak horns, or even a bike that won’t start.
Follow these steps for perfect grounding:
Scrape away any paint or rust at the grounding spot. You want shiny, bare metal for the best contact.
Use several ground points. Place one at the front, one at the rear, and one on the engine case. Use thick wire for the main ground to the battery.
Secure ground wires with bolts and lugs. Make sure they are tight.
Test each ground with a multimeter. Touch one probe to the battery’s negative terminal and the other to the frame or engine. The resistance should be less than 1.5 ohms.
Tip: If you see strange electrical problems, check your grounds first. Many issues come from poor grounding.
Secure and Insulate
You want your wiring to stay safe and neat. Here’s how to finish the job:
Use the right wire gauge for each part. Thicker wires carry more current.
Pick connectors that fit each device. Crimp them tightly with a proper tool.
Strip wire ends cleanly. Do not nick or cut the wire strands.
Slide heat shrink tubing over every connection. Heat it until it shrinks tight.
Bundle wires with cable ties. Keep them away from sharp edges and moving parts.
Use wire loom or conduit to protect wires from rubbing or heat.
Test every connection with a multimeter before you close up the bike.
Reminder: Never connect any relay stud to ground unless it is the designated ground wire. This prevents electrical shorts.
When you finish, your motorcycle wiring harness should look tidy and feel secure. Take a step back and check your work. A neat harness means fewer problems down the road.
Test and Troubleshoot
System Check
You finished installing your motorcycle wiring harness. Now, you need to make sure everything works before you put the bike back together. Start by testing the wiring at the relay and all major connections. Grab your multimeter. This tool helps you check voltage, resistance, and continuity. You want to see if electricity flows where it should.
Here’s a simple checklist for your system check:
Turn the key to the “on” position. Watch for lights and listen for the fuel pump.
Use your multimeter to test the battery voltage. It should read between 13.5 and 14.5 volts when the engine runs.
Check the stator by measuring resistance between its terminals. You want less than 1 Ohm. If you see more, the stator may be bad.
Test the regulator/rectifier with the diode function on your multimeter. Look for expected readings on both positive and negative diodes.
Inspect the ignition coil, spark plug wires, and caps. Test resistance to make sure they are not broken.
Try all switches—headlight, brake, horn, and starter. Each should work without flickering or delay.
Tip: Always test grounds first. Bad ground connections cause most wiring problems.
Fixing Issues
Sometimes, things do not work right after you install a motorcycle wiring harness. Do not panic. Most problems have simple fixes. Loose connections, poor grounds, or wires routed the wrong way can stop your bike from working.
Look for connectors that feel loose or show signs of burning. Replace or tighten them.
Check ground points. Scrape off paint or rust and make sure bolts are tight.
Use your multimeter with alligator clip test leads to find high resistance spots.
Trace wires using your wiring diagram. Patience helps you spot mistakes.
If you see flickering lights or weak horns, test the ground wires first.
For no-spark issues, inspect the ignition coil and plug wires for damage.
Heat, moisture, and mechanical wear can also cause trouble. Wires near hot engine parts may melt or break. Use heat shrink tubing rated for high temperatures. Moisture can corrode connections, so seal them with dual-walled heat shrink. Keep wires away from moving parts and sharp edges. Test handlebar movement to make sure nothing rubs or pulls.
🛠️ Callout: Organize and bundle wires neatly. Add protective sleeves where wires might touch metal or move. This keeps your motorcycle wiring harness safe and reliable.
Maintenance Tips
Regular Inspection
You want your motorcycle wiring harness to last as long as possible. Regular inspection helps you catch problems before they get serious. Look over your wiring every year, or at least during major service intervals—usually every 10,000 to 15,000 miles. If you ride in rain, heat, or rough conditions, check more often.
Look for frayed wires, cracked insulation, or signs of heat damage.
Pay close attention to spots near the engine, battery, and connectors.
Check for loose connections, corrosion, or brittle wires.
Use a flashlight to see hidden areas under the tank or seat.
Make sure zip ties and clips hold wires securely, but not too tight.
Tip: Areas exposed to vibration or moisture need extra care. If you spot any damage, fix it right away to avoid bigger problems.
Preventing Problems
You can prevent most electrical issues with a few smart habits. Start by keeping your wiring neat and secure. Route wires away from sharp edges and hot surfaces. Use zip ties, clips, or brackets to stop wires from moving and rubbing.
Seal connectors with dielectric grease to block moisture and stop corrosion.
Always use the right fuse for each circuit. Never swap in a fuse with higher amperage.
Carry spare bulbs and fuses in your tool kit. You never know when you’ll need them.
Clean microswitch contacts with dielectric spray if you notice bad contact.
Use sheathed cables and heat-shrink tubing for extra protection.
When adding accessories, draw power from the battery and install a fuse for each new device.
Keep your battery charged, especially in cold weather. Replace spark plugs and wires when needed.
Use a diagnostic tool to scan for faults and catch small issues early.
🛠️ Note: High-quality components stand up to rain, dust, and vibration. Quick disconnects make repairs easier and let you take things apart without cutting wires.
Taking these steps helps your motorcycle wiring harness stay reliable and safe. You spend less time fixing problems and more time enjoying your ride.
You made it through every step of installing your motorcycle wiring harness. Take a moment to double-check all your connections, test every light and switch, and make sure nothing is pinched or loose. Careful work now means you avoid headaches later. Regular checks keep your bike safe and reliable.
🛠️ Tip: Before every ride, inspect your lights and switches for smooth operation.
When you follow these steps, you get a wiring harness that lasts and keeps you riding with confidence.
FAQ
How long does it take to install a motorcycle wiring harness?
Most people finish the job in 4 to 8 hours. If you work slowly and check each step, you will avoid mistakes. Take breaks if you need them. Rushing can lead to problems later.
Do I need to solder every connection?
You do not have to solder every connection. Good crimp connectors work well if you use the right tool. Soldering adds extra strength. Use heat shrink tubing for extra protection.
What if my bike will not start after installing the harness?
First, check your battery and ground wires. Make sure all connectors are tight. Use your wiring diagram to trace each wire. If you still have trouble, test each part with a multimeter.
Can I reuse old connectors and wires?
You can reuse connectors if they look clean and work well. Replace any that look rusty or broken. Old wires often cause problems, so new wires are safer and more reliable.